How to Measure a Garage Door Opening Before Getting Quotes
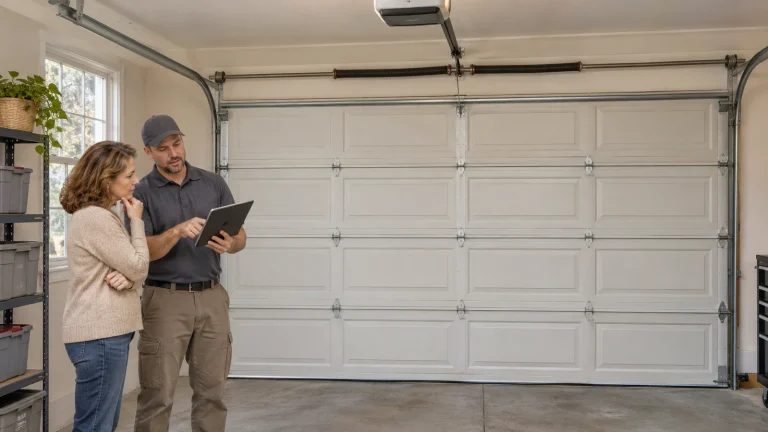
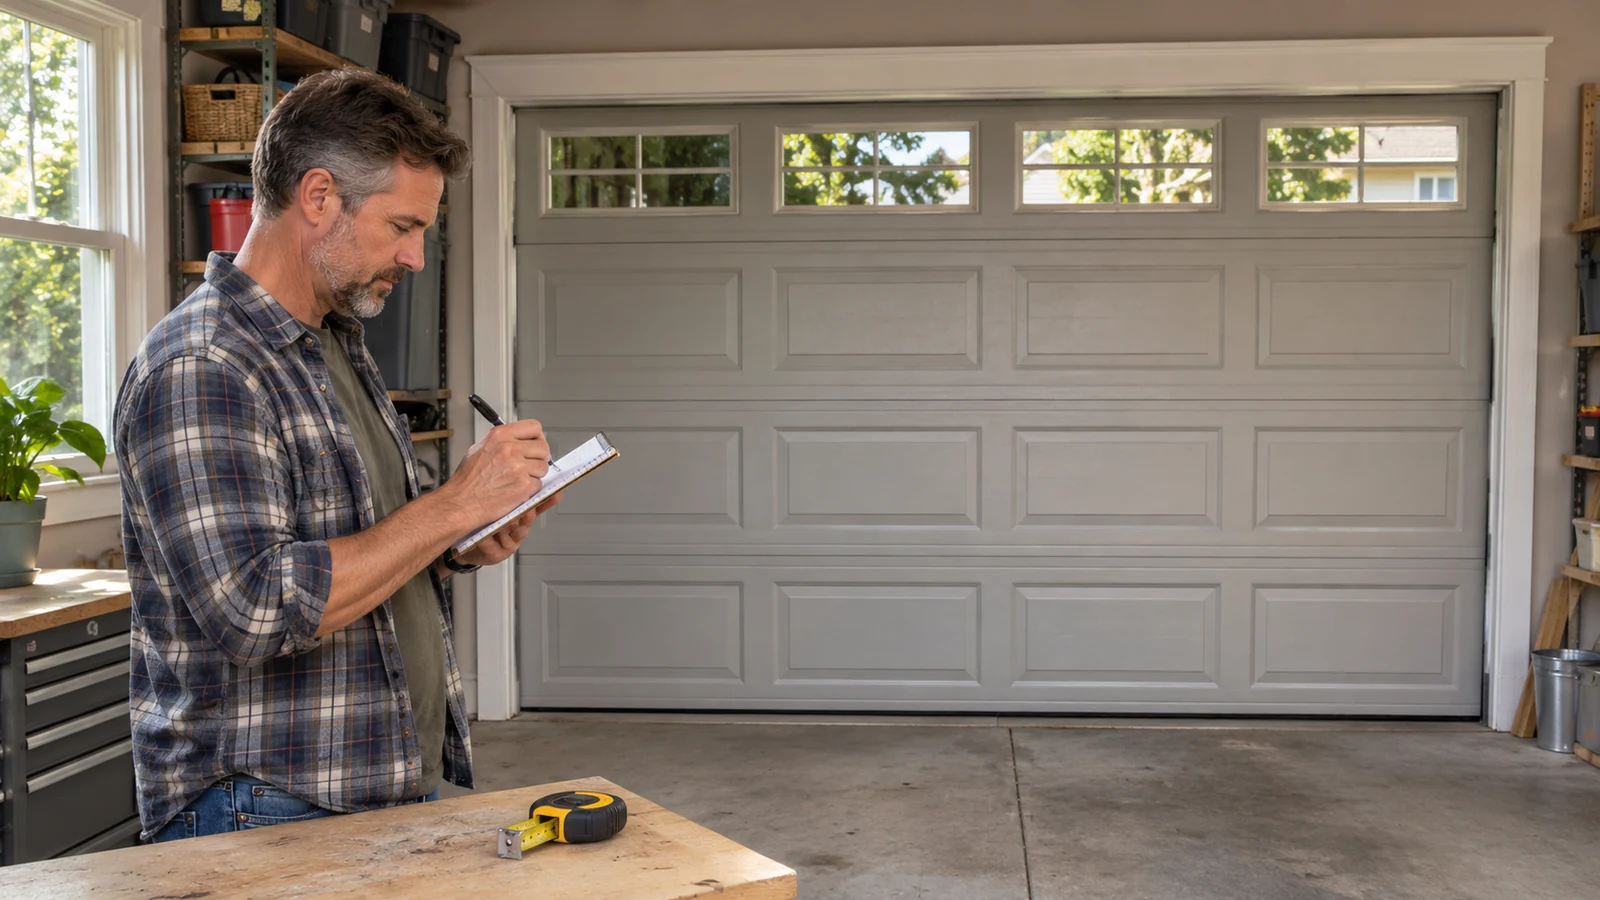
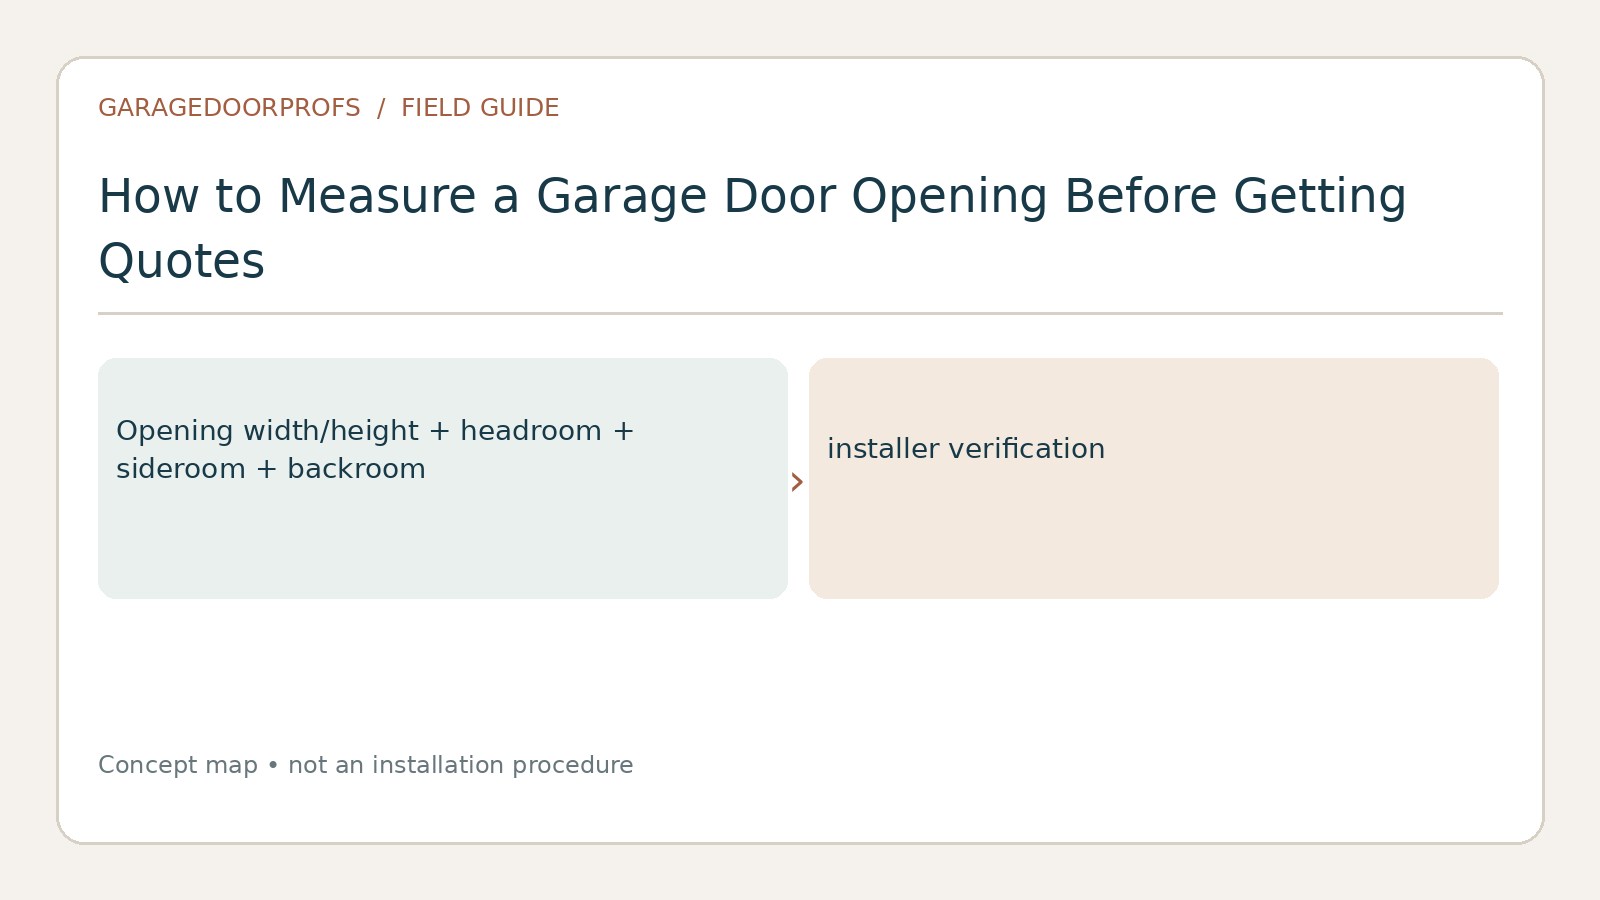
To measure a garage door opening for quotes, record the width and height of the opening from the floor, then note the clear space above (headroom), beside (sideroom), and behind (backroom) it. Take each reading at a few points, write down what the tape touched, and mark anything you could not measure. These numbers are preliminary only. The installer must verify the opening, the framing, and the clearances on site before any door is ordered.
This page is part of the larger garage door installation guide, which covers the full replacement process.
When to call a pro. Measure only from the floor and only if the door is stable. Do not stand under a part-open door, climb near the springs or tracks, or disturb the opener. If the door is damaged or hangs crooked, send photos from a safe distance and let the installer measure.
Contents
- Know which opening you are measuring
- Measure width and height
- Check headroom, sideroom, and backroom
- Include the opener and how you use the space
- Common sizes, and why yours may differ
- Send a consistent quote packet
- When a measurement signals a problem
- Quick checklist
- In this guide cluster
- DIY or pro
- Where this guidance comes from
- FAQ
- Next step
Know which opening you are measuring
A garage door opening can mean two different things. The finished opening is the visible passage framed by the existing jambs and header, including any trim. The rough opening is the structural framing before trim and finish material go on. Note which one each number describes, because two installers who measure different things will quote different doors.
Before you pick up a tape:
- Make sure the door is closed and operates normally. If it does not, do not use it to reach an edge.
- Sketch the opening from the inside and again from the outside.
- Label left and right from one stated viewpoint, such as “as seen from inside the garage.”
- Note any damaged jamb, uneven floor, sloping driveway, threshold, or trim you plan to change.
A photo with a tape visible in a safe position can help a bidder read your sketch. Final product sizing must still come from site measurements.
Measure width and height
Measure the visible width at a few accessible heights, and the height at a few points across the opening. Write each reading. Do not hide variation in one rounded number, because an opening that is wider at the top than the bottom matters to the installer.
For each reading, record:
- The number, in inches or feet and inches
- Where it was taken, such as “left side, 24 inches up”
- What the tape touched: finished trim, wall surface, or structural framing
If something blocks a reliable reading, write “not measured” and let the installer handle it. Do not assume a nominal size printed on an old invoice equals the clear opening today. Flooring, weather seals, trim, or earlier changes may have altered the usable space.
Ask the installer how the proposed door overlaps or fits the opening, and whether the quote includes any framing changes.
Check headroom, sideroom, and backroom
These three terms describe the space the door and its hardware need around the opening.
| Term | What it means | What to note |
|---|---|---|
| Headroom | Clear space above the top of the opening | Beams, lights, pipes, or storage near the ceiling |
| Sideroom | Clear space beside the opening on each side | Walls, columns, pipes, or electrical gear |
| Backroom | Depth into the garage available for the door and its track | Ceiling storage, a car lift, or other obstructions |
How much space is enough depends on the door, the track layout, and the opener. As a rough orientation, many standard sectional doors need on the order of a foot or more of headroom, a few inches at each side, and a depth about as long as the door is tall plus extra for an opener. Treat those as orientation only. The manufacturer’s installation guide for the exact door sets the real figures, and low-headroom or high-lift track layouts change them.
Do not climb to measure near springs or horizontal tracks. Write “beam above left side, not measured” if you cannot reach safely. The installer measures the full moving envelope and confirms compatible tracks, opener, and support. The headroom guide explains the terms in more detail, and the low-headroom guide covers tight spaces.
Include the opener and how you use the space
Mark the current opener, whether it uses a center rail or a side-mounted unit, ceiling racks, a car lift, and overhead lights. A new door may need a different track path or extra reinforcement for an opener. Ask each bidder whether the opener is reused, replaced, or excluded, and whether power work is included.
Also note how you use the garage:
- Does a vehicle need full clearance, such as a tall truck or a roof rack?
- Is there a separate side entry?
- Do you store items on the ceiling or run a car lift?
- Are you thinking of two single doors instead of one double?
The clearance guide for ceiling storage and car lifts and the two single vs one double door guide cover those questions. If you are thinking about a taller door, see the high-lift conversion guide.
Common sizes, and why yours may differ
Residential doors commonly come in standard widths and heights. Published cost guides price examples such as a 9 by 7 foot single door and 16 by 7 or 16 by 8 foot double doors. Your opening may be slightly different from a standard size, particularly in older homes or after renovations. A door made to a nearby standard size may need framing work to fit, while a custom size costs more.
Use common sizes as a sanity check on your readings, not as a substitute for them. If your numbers are close to a standard size but not exact, tell the bidder and let them decide how to fit it. The standard sizes guide lists sizes and explains what fit means, and the rough opening vs finished opening guide explains the difference in more depth.
Send a consistent quote packet
Give every bidder the same information so you can compare like with like:
- Your sketch, readings, and photos
- Your preferred material, style, insulation, and window options
- The opener situation, and whether you want it replaced
- Constraints: low headroom, uneven floor, obstructions, HOA rules
- A request that each company note what remains unverified until the site visit
Ask for preliminary quotes that state the proposed door model and their assumptions, including removal and disposal, trim or framing, tracks, opener work, and warranty. After an in-person survey, request a revised quote based on the installer’s own measurements. The final order should name the product’s actual opening dimensions and track type, not a guess carried over from an email. Keep the approved drawing with the contract, because a change in dimensions after ordering can affect parts and timing.
When a measurement signals a problem
If the opening is visibly out of square, the header looks damaged, the slab slopes badly, or ceiling storage blocks the door’s path, mark the condition and do not try to correct it while you measure. An installer, or a building professional if the structure is involved, should decide the remedy.
Do not move a track, adjust a spring, or remove bracing to make room for a tape. If the old door shakes or sticks, report that separately from the new measurements, since track fit and structural support deserve inspection before any hardware is reused. The moves in jerks guide explains what that symptom can mean. DASMA publishes a sectional door terminology sheet (TDS160) that helps you use consistent names, but the selected door’s installation guide controls the actual dimensions.
Quick checklist
- The door is closed and stable, and you measured only from the floor.
- You noted whether each number is for the finished or rough opening.
- You recorded width and height at several points, with what the tape touched.
- You noted headroom, sideroom, and backroom obstructions, and left unsafe ones as “not measured.”
- You marked the opener, ceiling storage, lifts, and lights on your sketch.
- Every bidder received the same sketch, photos, and preferences.
- You asked for a revised quote after the installer’s on-site measurement.
In this guide cluster
- Headroom, sideroom, and backroom explained: the space a door needs around the opening.
- Standard garage door sizes: common widths and heights and how fit works.
- Low-headroom garage doors: track and opener planning when space is tight.
- Rough opening vs finished opening: why the two numbers differ.
- High-lift garage door conversion: planning and constraints for a taller lift.
- Clearances for ceiling storage and car lifts: sharing the ceiling with a moving door.
- Two single doors vs one double door: what the choice changes.
- Garage door moves in jerks or shakes: what uneven movement can mean for a reused track.
DIY or pro
You can sketch the opening, take floor-level readings on a sound door, photograph obstructions, and send a consistent packet to bidders. The installer should take the final measurements, verify the framing, and choose the track layout. Do not order a door from your own numbers.
Safety box. Do not stand under a door that is part open, reach near springs, cables, or tracks, or climb a ladder beside the door to measure. If the door is damaged, send photos and let the installer measure.
Where this guidance comes from
Opening terminology follows DASMA’s sectional door terminology sheet (TDS160). Common door sizes come from published cost guides such as Liberty Home Guard’s replacement cost guide. Clearance figures vary by door and track layout, so this page gives orientation only and defers to the manufacturer’s installation guide for the selected door.
FAQ
Is my tape measurement enough to order a door?
No. Your readings support preliminary conversations and comparable quotes. A qualified installer must verify finished and structural dimensions, clearances, framing, and the proposed track and opener setup before ordering. Keep a copy of the final approved measurements with your contract.
What is the difference between opening size and door size?
The opening is the framed space in the building. The door is the product selected to cover and operate in it. Overlap and installation details vary by design, so ask the installer to show the manufacturer’s drawing for the exact model and mounting method.
What if I cannot reach headroom safely?
Record the obstacle and leave the dimension blank. Do not climb near springs, tracks, or a partly open door just to complete a quote sheet. The installer can measure it during a controlled site visit and recommend a suitable track design.
Should I keep my old tracks?
Do not assume they suit a new door. Track shape, roller size, door weight, and the maker’s instructions all matter. Ask whether the quote includes new tracks, and ask for a specific, written compatibility basis if anyone proposes reusing the old ones.
Next step
- Sketch the opening, take floor-level readings on a sound door, and photograph any obstructions.
- Send the same packet to two or three installers and ask each to list what is unverified.
- Ask for a revised written quote after the on-site measurement, and keep the approved drawing.