Ultimate Garage Door Troubleshooting Guide
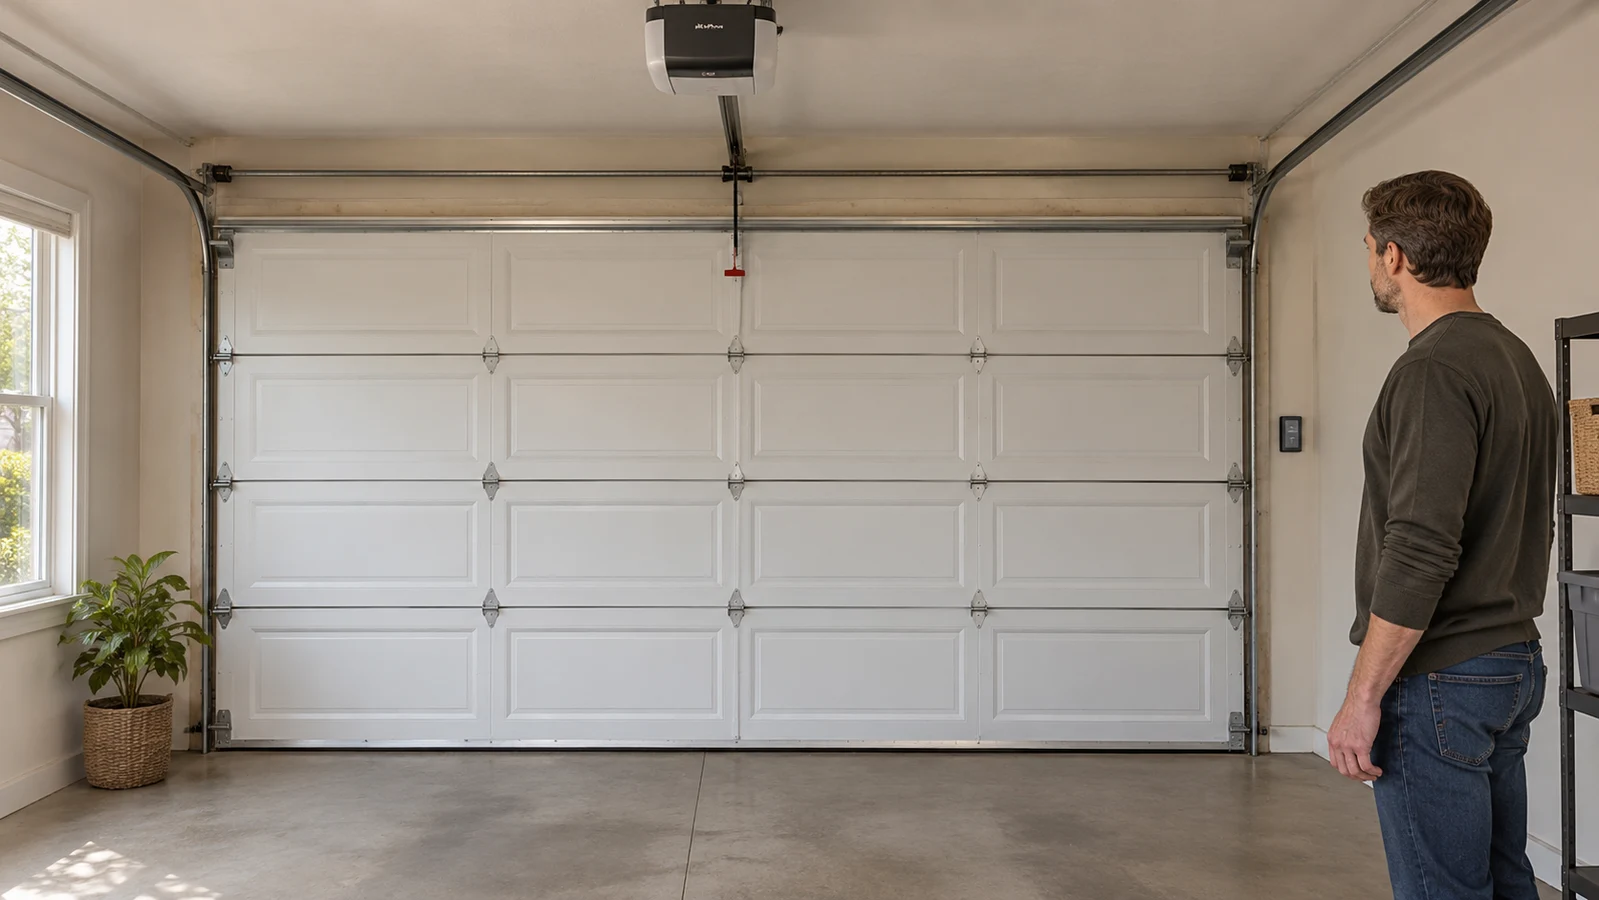
Start garage door troubleshooting by looking at the door from a safe place. A crooked door, a loose cable, a roller outside its track, or a burning smell means stop and call a trained technician. If the door looks sound, match your symptom to the list below and do only the safe checks: a remote battery, a blocked or dirty photo eye, a lock setting on the wall control, power to the opener. Most no-response and one-remote problems end there. A door that hums and barely moves, jerks, or hangs uneven is a mechanical problem, and the opener is not the cause.
What you’ll learn
- Which clues mean stop before you press any button.
- A ranked list of likely causes for each common symptom, simplest first.
- Which checks are safe from the floor on a sound door.
- What each fix typically costs, dated, if you need a pro.
- What to tell a technician so the visit goes faster.
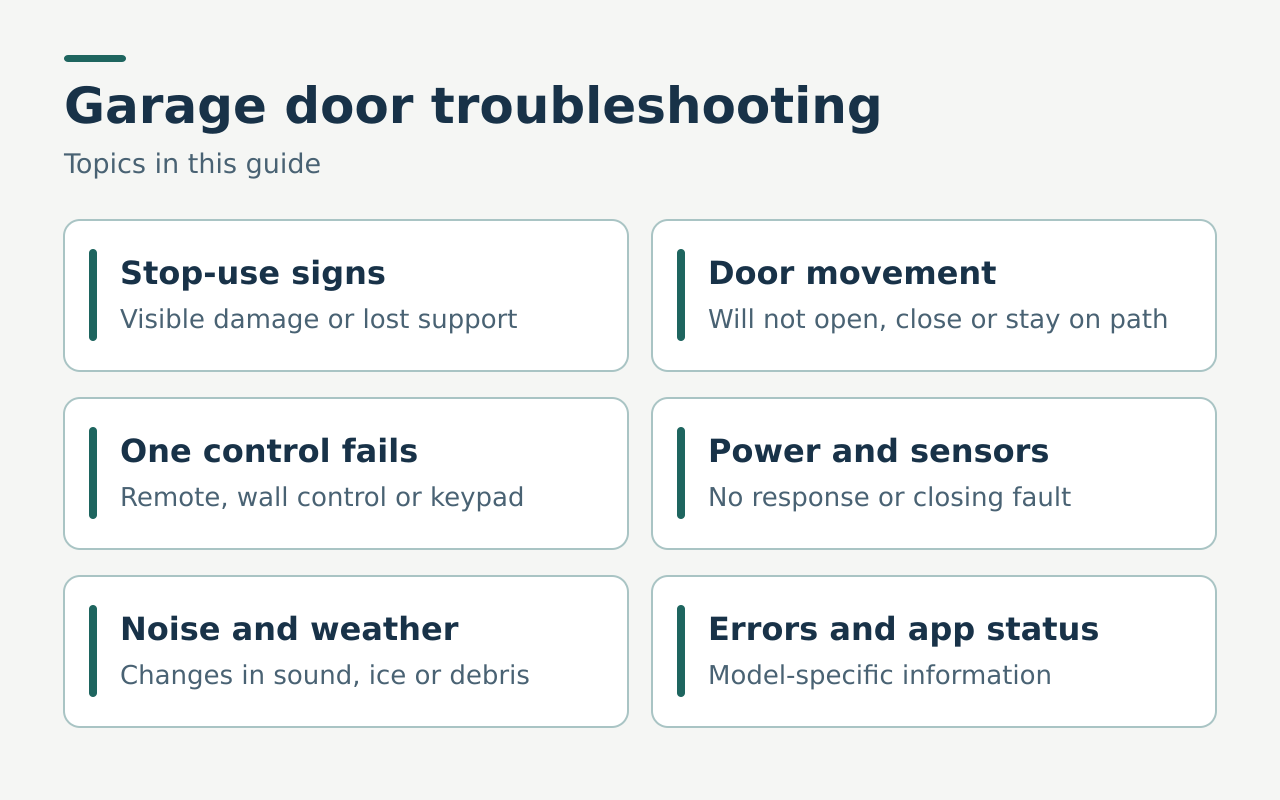
Contents
- Safety screen before garage door troubleshooting
- Start here: a 60-second triage
- The five-minute safe checks
- When the garage door will not open
- When the garage door will not close or reverses
- When the door stops too high or too low
- When the motor runs but the door does not move
- When one remote fails and the wall button works
- When the opener seems to have no power
- What garage door sensor lights can tell you
- What a new noise or vibration may mean
- When the app reports offline
- What to check when cold weather changes operation
- How to report an opener error code
- Garage door symptoms at a glance
- What a fix typically costs
- Keep a record of an intermittent symptom
- Four real-life troubleshooting scenarios
- FAQ
- Next step
Safety screen before garage door troubleshooting
Stop and call a pro. Keep everyone away from a crooked, fallen, or off-track door, or a door with a broken spring or loose cable. Leave the controls and manual release alone. Call a trained garage door technician and verify any required local license. If there is smoke or fire, or someone is trapped or in danger, get to safety and call 911.
Begin with the position the door is already in: fully closed, fully open, or stopped between. From where you are safe, check whether one edge is higher, a section has pulled away, or any part looks shifted. Do not step under an open or suspended door that may be damaged, and skip any check that requires approaching the opening to confirm what you can already describe.
A lift cable is a steel cable that carries force from the spring system to the door. A track is the metal channel that guides the rollers, the small wheels at the door’s edges. A loose cable or a roller outside its channel means the door may have lost support. A closed door with a broken spring also needs service before any test. Tell everyone to leave it idle.
A burning smell, an overheated unit, damaged wiring, or sparks changes the next step. Keep the equipment out of use and have an electrician or the service company evaluate it. If the area is unsafe to approach, leave it. The DASMA residential inspection checklist lists the stop conditions for a basic inspection.
Start here: a 60-second triage
Find your situation, then jump to that section. Take the first row that matches.
| What you see or hear | Likely area | Go to |
|---|---|---|
| Door crooked, cable loose, roller out, spring split | Mechanical, door unsupported | Stop. Call a pro now |
| Motor hums or door barely lifts | Spring, balance, or binding | Motor runs, door does not move |
| Nothing happens, no light, no sound | Power or controls | No power |
| Wall button works, remote does not | Remote | One remote fails |
| Door closes then goes back up | Sensors, obstruction, or binding | Will not close or reverses |
| Door stops short, or leaves a gap | Travel limits or binding | Stops too high or low |
| New scrape, grind, bang | Rollers, track, hinge, mounts | Noise or vibration |
| Works from wall, app says offline | Network or account | App offline |
| Only fails on freezing mornings | Frozen seal, ice | Cold weather |
| Lights flash on the motor | Error code | Error code |
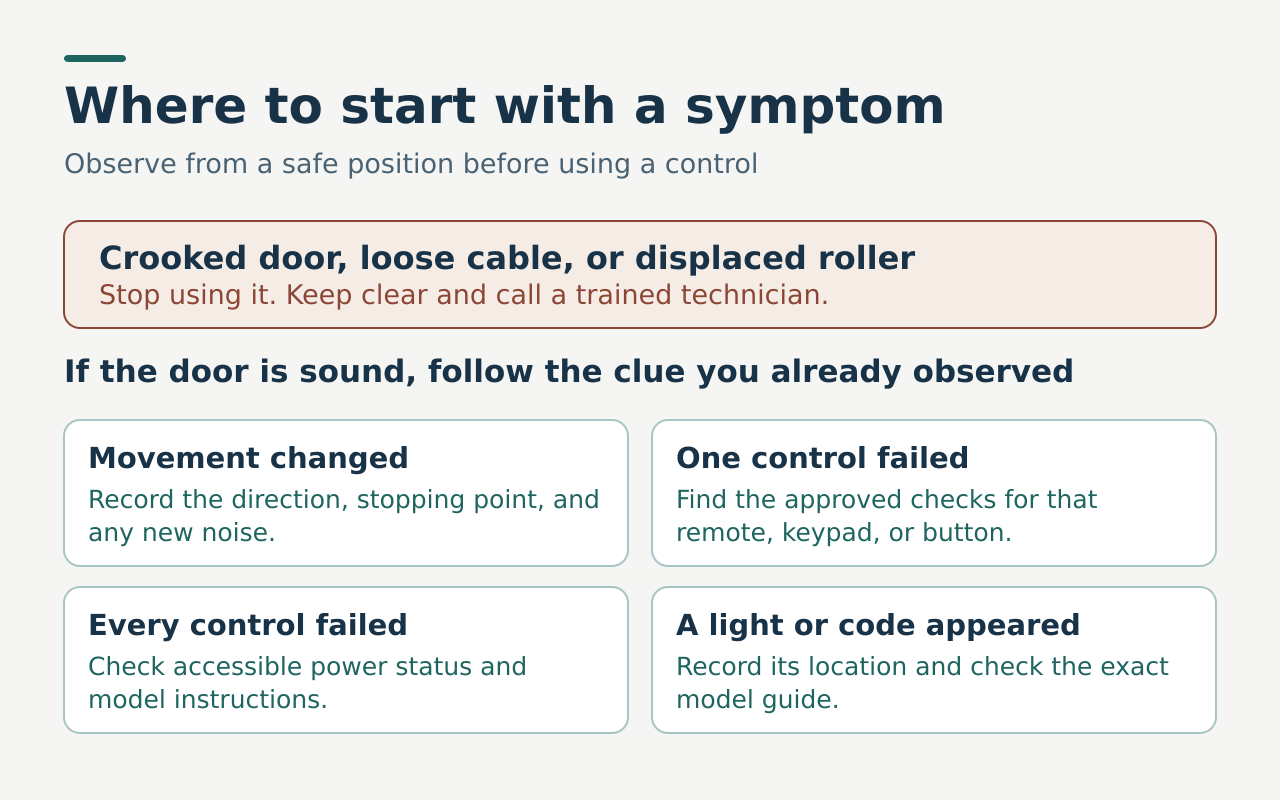
Give the strongest clue priority. If the door started leaning during a closing attempt, the mechanical condition comes first no matter what light is flashing. If only one remote failed and the wall control just worked, start with that remote on a sound door. If everything went silent after an outage and the door is in good condition, start with power.
Write down the control you used, the direction the door was going, and where it stopped. Note whether the motor was silent, humming, or running normally. Record the location of any light you saw, because a wall button, the ceiling unit, and a photo eye each report different things.
The five-minute safe checks
These are the checks you can do from the floor on a door that is sound and stationary. Stop at the first one that finds the problem. If any step needs a ladder, tools, or reaching near a loaded part, skip it and call.
- Look at the door. Is it level, closed or open fully, and all rollers in the tracks? If not, stop and call.
- Look at the photo eyes. They sit low on each side of the opening. Is anything blocking the beam, such as a bin, a bag, or a leaning tool? If you can remove it from outside the door’s path, do.
- Check the sensor lights. Read the manual for what each light means on your model. A dark or flickering light on one eye often means misalignment or a power fault.
- Check the wall control. Is a lock or vacation mode on? Some controls disable remotes and keypads in that mode. The manual explains it for your model.
- Check power. Is a light or outlet in the garage working? Is the opener’s status light on? If a cord, plug, or outlet looks damaged, damp, or smells hot, leave it and call.
- Check the remote. Does the wall control work when the remote does not? If so, the remote battery is the first suspect. Replace it per the remote’s manual.
Do not open the motor housing, reset a breaker repeatedly if it keeps tripping, or pull the release handle on a door you think is unsupported.
A useful check leaves you with one fact: “The wall button worked yesterday, the remote failed today.” If you cannot safely check something, tell the technician what you know. You rarely need to repeat a failure to explain it.
When the garage door will not open
Sort what you saw into three situations. The opener and controls were silent. The opener responded but the door stayed down. The door began to lift and then stopped. The door’s position when it failed matters as much as the fact that it stayed down.
Likely causes, in the order to consider them:
| Rank | Likely cause | How to tell | Homeowner or pro |
|---|---|---|---|
| 1 | No power to the opener | No light, no sound from any control | Check accessible status. Pro or electrician if wiring or repeated trips |
| 2 | Wall control in lock mode | Wall button works, remotes do not | Owner, per manual |
| 3 | Remote dead | Wall button works, one remote does not | Owner |
| 4 | Release handle pulled, trolley disconnected | Motor runs but door does not follow | Pro if the door is unsupported |
| 5 | Broken spring or cable | Hum with barely any lift, uneven door | Pro only |
| 6 | Frozen bottom seal or blockage | Fails on cold mornings, gap or ice at the floor | Owner, from outside the path |
If the controls were quiet, note the household power state and any indicator you can see. If the motor hummed or the door rose only slightly, a balance or binding issue is likely. Stop operating it and describe the movement. Do not try to lift it with the opener release. In cold weather an iced bottom seal can affect starting, but damaged or shifted hardware takes priority over weather.
Give the service company the door’s position, any recent impact or freeze, and the opener model. The guide on what to check when the garage door won’t open covers the next branches.
When the garage door will not close or reverses
Separate when the reversal happens from where the door is. A door that never starts closing is a different symptom from one that goes almost to the floor and reverses. An object in the opening, a blocked photo-eye beam, a fault the opener detected, or a binding door can all change closing behavior. Report the direction and location you saw.
Likely causes, in order:
| Rank | Likely cause | How to tell | Homeowner or pro |
|---|---|---|---|
| 1 | Something blocking a photo eye | A sensor light is off, flashing, or the door will not close | Owner: remove an object you can safely reach |
| 2 | Misaligned or dirty photo eye | Lights differ between the two eyes | Owner: wipe the lens, check alignment per the manual |
| 3 | Obstruction in the door’s path | Door reverses at the same spot each time | Owner: clear if safe |
| 4 | Binding, bent track, or poor balance | Door looks rough or skewed near the floor | Pro |
| 5 | Failed sensor or wiring | Lights stay off after cleaning and alignment | Pro: about $100 to $250 as of November 2026 |
On a stationary door with no sign of damage, look from a safe position for a visible object in the beam area. If you can remove it from outside the door’s path, do that before you use the door again. Compare the status lights with your manual. Leave wiring, moved mounts, and alignment faults for a technician.
Do not raise the closing force or change travel settings to make a door finish its path. A reversal is the safety feature working, and turning it down hides the cause. Never bypass a safety sensor or disable auto-reverse to make a door close. If the symptom returns or a protection test fails, stop automatic operation and get service.
When the door stops too high or too low
Describe this with position and direction. A door can stop while opening and leave less room for a vehicle. It can reach the floor on one side and leave a wedge of light on the other. It can stay level and stop short of the floor across its width. Record the pattern from a safe position. If either edge is out of place or something looks loose, stop using the door and call.
Likely causes, in order:
- Travel limits changed or never set correctly. More likely if the door stays level. The manual explains the setting for your model, but if the door has any new uneven motion, do not adjust it before an inspection.
- Something in the path. A mat, ice, a new floor surface, or an object at the bottom, or a rack or light at the top.
- Binding or shifted hardware. A track, roller, or hinge that has moved.
- A door that has lost balance. The door feels heavier and does not travel as far.
If a new vehicle or rack prompted the concern and the door still reaches the same place it always did, the question is clearance, not a fault. A door that recently lost travel needs an operating assessment. Tell the technician whether the old stopping point is known and whether anything was installed or moved in the path.
At the bottom, note whether a mat, a pavement change, ice, or visible distortion seems related. A setting change before inspection can hide the condition you need checked.
When the motor runs but the door does not move
If you heard the motor after a command but the door stayed put, write down whether it was at the floor or already suspended, and whether the motor ran briefly or kept going. Several things can produce this: a disconnected drive, a physical obstruction, or a door that has lost mechanical support. Treat suspected damage or an uncertain open position as a reason to stay clear.
Likely causes, in order:
| Rank | Likely cause | Clue | Homeowner or pro |
|---|---|---|---|
| 1 | Broken spring or counterbalance fault | Hum with no lift, door heavy, spring gap | Pro only. Stop running the opener |
| 2 | Release handle pulled | The door moves freely by hand when the motor runs | Pro if the door could be unsupported |
| 3 | Broken drive part, trolley, or arm | Motor runs, door does not follow | Pro |
| 4 | Frozen seal or obstruction | Fails mostly in freezing weather | Owner from outside the path |
On many trolley openers the opener arm is the link between the trolley and the top of the door. A shaft-drive unit uses a different connection. Tell the technician the type only if you know it. Do not move the door or the release to see if the connection changes.
An open door that will not move can leave the property exposed, and a closed one can trap a car. If the door seems unsupported, request urgent service and say why. Use another entrance if you can reach it without passing the affected opening. Write down whether the problem followed a move, recent maintenance, or an outage.
When one remote fails and the wall button works
If the wall control operated the sound door normally and one remote failed, start with that remote. Likely causes, in order:
- Dead or weak battery. Use the type listed in the remote’s manual.
- Wall control in lock mode. This can block remotes while the wall button still works.
- Remote lost its pairing. Re-pairing follows the exact model’s procedure.
- Incompatible or new remote. Similar housings can cover different systems, so check the compatibility list for your opener.
- Failed remote. Replace it.
Record whether other remotes work and whether the failure happens everywhere or only at a distance. If a newly bought control never worked, read the compatibility list for the exact opener and accessory. If a remote went missing, use the approved access-management steps and tell the household.
Avoid deleting codes or reprogramming the system just to test a fault when you do not know the procedure. The remote not working guide covers these cases. A manufacturer support article, Chamberlain’s page on a working wall button and a failing remote, shows why knowing which control still works narrows the cause.
When the opener seems to have no power
Check what else changed. A known outage, a garage light or outlet that recently stopped working, or a backup status signal can all matter. Look for an accessible power or status indicator named in the opener manual. If a cord, plug, or outlet is damaged, damp, or smells overheated, leave it alone and arrange service.
Likely causes, in order:
| Rank | Likely cause | How to tell | Homeowner or pro |
|---|---|---|---|
| 1 | Household power out or a tripped circuit | Other garage lights or outlets are dead | Owner: check the breaker once |
| 2 | Opener unplugged or outlet failure | No indicator on the unit | Owner if the cord is reachable and undamaged |
| 3 | Backup battery depleted or in an odd state | Beeping or status signal on a backup model | Per manual |
| 4 | Wall control or opener failure | Every control is dead, power is on | Pro |
| 5 | Repeated breaker trips | Trips again after one reset | Electrician |
Do not open the motor housing, and do not keep resetting a protection device that trips. A recurring electrical fault needs qualified help. When the opener is out and you cannot get in, tell the technician what access is blocked. With any sign of a mechanical fault, leave release procedures to the technician. The guide for when a garage door opener won’t work covers the no-response branch.
What garage door sensor lights can tell you
Photo eyes face each other across the opening near the floor. An obstruction, a bumped sensor, a power problem, or a wiring fault can all affect them. Look from a safe side of the stationary opening for an obvious obstruction or a sensor that has been struck or turned.
Light color, flash count, and which unit is flashing mean different things on different products. Write down whether each light is steady, dark, or blinking, and note which eye. Use the opener’s model to find the matching manual and chart. If the manual describes a pair of normal lights, note both.
Use the direction clue. A closing problem with a photo-eye warning may be about the beam. A door stuck partway up with a loose cable needs a mechanical check before sensor troubleshooting. Never treat an indicator as a reason to run an unsafe door, or to run any door without all its protection devices working.
If a basic look and a manual-approved owner check on a sound door leave the issue unresolved, get service. If the door fails an approved test, keep automatic operation off. Give the technician the model, which light you saw, and the last behavior you observed. The DASMA opener safety guidance explains the protection roles in an automatic system, and the sensor light guide covers model-specific clues.
What a new noise or vibration may mean
Describe when the sound happens. A rattle at startup, a scrape at the same spot, and a hum with almost no movement each tell a different story. From where you are safe, report whether the sound seemed to come from above the door, along one side, or near the motor. Do not move closer while the door is running.
Likely sources, in order:
| Sound | Likely source | Homeowner or pro |
|---|---|---|
| Squeal or squeak all along travel | Dry or worn rollers, hinges | Owner lubrication per the manual, pro for worn parts |
| Scrape at one spot | Track, roller, or an object in the path | Pro if movement changed or damage is visible |
| Rattle at start or stop | Loose mounts or vibration through the structure | Pro |
| Pop or bang | Spring, cable, or hardware | Stop and call a pro |
| Hum with little movement | Balance, binding, or drive fault | Stop and call a pro |
A change in sound can come from the track, the hinges, the drive, or mounting that carries vibration. A new scrape with visible damage is a reason to stop. A steady old noise on a sound door is a service question, not an emergency. Note whether flooring, mounting, hardware, or storage changed before the noise began.
Do not add lubricant to a mystery noise as a first response. The door or opener manual lists the points and products for routine care when the equipment is healthy. If a roller looks displaced or a rail shifts under load, get a technician. A temporary change in sound does not prove the hardware is safe. The garage door noise guide explains what timing can tell you.
When the app reports offline
First find the door’s actual position from a safe place. An app can show an old status when communication is down. If the door looks sound and local controls worked before, the app problem likely sits in the network, the service, the account, or a gateway accessory. Follow the manual or current support for your exact system.
Likely causes, in order:
- Home internet or router change. The most common trigger is a new router, a changed password, or an outage.
- Opener or accessory lost its connection. The manual explains how to reconnect.
- Account or service issue. Check the manufacturer’s status or support page.
- A sensor or hub problem. Some systems rely on a separate status device.
Record when the app stopped updating and what changed first. Avoid sending the same command repeatedly when you cannot tell what is responding. If the opener stopped from every control, use the power branch first. If the physical door is crooked or unsupported, make sure everyone leaves it out of use, because household members who have both app and remote access could each send a command.
The smart opener offline guide covers the connected-access branch.
What to check when cold weather changes operation
Freezing conditions can make a door harder to move if the bottom seal has frozen to the floor, or if snow or ice blocks the opening. A cold-weather symptom can also be ordinary mechanical wear or an opener fault. Treat obvious damage, a spring break, or an uneven door as a stop sign regardless of temperature.
From a safe position beside a sound, stationary door, look for ice or snow along the bottom edge. Clear loose debris only if you can reach it from outside the opening and without touching door hardware. Do not force the door free, and do not run repeated cycles against a blockage. If the door has shifted, stay clear and call.
Tell the technician whether the symptom followed a storm, thaw, or big temperature swing, where you park, and whether the door is your main entrance. The cold-weather troubleshooting guide explains the difference between a seasonal condition and a mechanical fault.
How to report an opener error code
Write down the full model number from the installation record. Record where the signal appears and how it repeats. A code may show as a display message, one or more lights on the unit, or a pattern at the wall control. Ask which diagnostic document covers your model and version, because a code chart from a different product can send you to the wrong part.
Keep the message exactly as shown. Note what the door was doing when it appeared: fully closed, reversing near the floor, or open after an outage. Your provider can match the circumstances to the documented code. If you cannot read a label from the floor, give the technician the paperwork or wait for the visit.
Some codes point to an area that needs inspection, but a technician still confirms the cause. Equipment may report a safety-related problem while the door has an issue in its path. Follow stop-use signs first. The opener error code guide shows what to record. A good service note has the model, the light’s location, the exact pattern or displayed words, and the door position at the time.
Garage door symptoms at a glance
Read from the top when the door is in an unusual position. The symptom that creates a hazard takes priority over a remote status or a code.
| Symptom | Likely area to investigate | Check from a safe place | Homeowner or pro |
|---|---|---|---|
| Door hangs crooked or has a wheel out | Alignment, track support, or counterbalance | Record current position | Urgent trained service |
| Cable hangs or spring is split | Counterbalance and door support | Stay clear. Give the visible location | Pro only |
| Opener hums, door barely moves | Binding, poor balance, or drive fault | Record what you already observed | Stop use and call a pro |
| Sound door fails only with one remote | Remote power, pairing, or compatibility | Identify the manual and battery type | Owner check, then service if needed |
| No response after a power outage | Supply, backup, or controls | Check accessible status and the outage | Owner lookup. Qualified help for wiring or repeat trips |
| Sound door will not close, indicator at sensor | Obstruction or sensor condition | Look for an object. Read the model guide | Owner visual check or pro |
| App offline, local controls worked | Network, accessory, or account | Confirm physical position safely | Owner support for the model |
| New scrape from one side | Roller, track, hinge, or support | Report where it happened | Pro if movement changed or damage is visible |
Three phrases deserve care. “It went halfway” can mean the door opened halfway and stopped, or closed halfway and reversed, and those have different causes, so record direction first. “The light blinked” can describe the motor light, a photo-eye indicator, or the wall control, so record where. “It won’t work with my phone” can mean the app will not open, shows the wrong position, or sends a command that does nothing, so check the real door condition first and avoid sending more commands to a door that may be unsafe.
What a fix typically costs
If a safe check does not solve it, these approximate U.S. ranges apply as of November 2026. They come from published national cost guides, combine parts and labor, and are not quotes.
| Problem | Typical fix | Typical cost range |
|---|---|---|
| Remote battery or reprogramming | Owner or pro | $25 to $75 for programming, battery extra |
| Photo eye realignment or replacement | Pro | $100 to $250 |
| Opener repair (not replacement) | Pro | About $100 to $500 |
| Opener replacement, installed | Pro | $300 to $900 |
| Roller set | Pro | $100 to $250 |
| Track repair or replacement | Pro | $125 to $400 |
| Cable replacement | Pro | $100 to $400 |
| Spring replacement | Pro | $120 to $350 |
| Service call or diagnostic visit | Pro | $50 to $150 |
| Weekend or after-hours surcharge | Pro | $50 to $150 |
| Professional tune-up and lubrication | Pro | $100 to $250 |
HomeGuide’s tune-up guide covers standard and premium service packages. For context, HomeAdvisor’s data puts an average garage door repair near $265, with most between $155 and $379. If a visit starts as a $125 tune-up and turns up a worn cable, the cable becomes a separate line. Ask whether the service fee is credited if you approve the repair. The garage door costs guide explains how to read quotes and compare them.
Keep a record of an intermittent symptom
For a problem that comes and goes, write one short line each time it happens in ordinary use, as long as the door is sound and safe. Include the date, the control you used, the starting position, and what happened. “Wall control, closing began, then reversed before the floor” is far more useful than “door acted up again.”
Note anything that changed around the garage before the first event: lighting, storage, flooring, a power outage, equipment service, or a weather event. Write them in order, and let the technician decide on causes. If the symptom shows up for more than one user, ask what they observed and whether they used the same device.
A repeated obstruction or the same warning after each outage gives the technician a clue. Call for service as soon as the movement or a protection feature suggests danger. Do not try to reproduce an intermittent failure on a damaged door.
When contractors work in the garage, tell them what clearance the door needs and ask them to keep objects out of the movement path and away from sensors and controls. If a project affects flooring, wall supports, or power near the door, have the installer confirm safe operation afterward. After a floor resurfacing, record the width and location of any changed gap you can see safely. If movement changed or the door leans, stop and call.
Four real-life troubleshooting scenarios
These are illustrations built from typical situations, not records of real service calls.
Scenario 1: The remote stopped, the wall button works. A family finds that the car remote does nothing, but the wall button runs the door normally. They replace the remote battery per its manual, and it works. Cost: a battery. If it had not worked, the next step would be reprogramming per the manual, or a replacement remote, with programming in the $25 to $75 range as of November 2026. They did not need a service call or a new opener.
Scenario 2: The door closes a foot and goes back up. The door reverses near the floor each time, and one photo-eye light is blinking. From outside the door’s path they see a bag of potting soil leaning against one eye’s bracket. They move it, wipe the lens, the light turns solid, and the door closes. If the light had stayed dark, the next step is a pro for a sensor repair at about $100 to $250.
Scenario 3: A bang, then a hum. A household hears a loud sound, and the next morning the opener hums but the door barely lifts. A visible gap shows in the spring above the door. They stop pressing the button, tell everyone, and call. This is a spring replacement at about $120 to $350, plus a possible after-hours surcharge of $50 to $150 if they call outside regular hours. They ask the dispatcher whether it can wait for a regular visit, since the door is closed and nothing is blocked.
Scenario 4: Only fails on freezing mornings. The door will not budge on the coldest mornings, then works by midday. From outside the door’s path, the owner sees ice along the bottom edge where the seal meets the floor. They clear the loose ice they can reach and do not force the door. If it keeps happening, the technician can check the seal and floor fit. Cost: usually a regular visit in the $50 to $150 service-call range, depending on what is found. If the door ever looks uneven in cold weather, stop and call.
FAQ
Why won’t my garage door open but the opener makes noise?
A running motor with no door movement points to either a disconnected drive or a door that is too heavy to lift, often from a broken spring. Do not run it repeatedly. Stop, keep clear, and call a technician. A door that moves freely by hand when the opener runs may have a pulled release or a failed trolley.
Why does my garage door close and then go back up?
The most common safe-to-check cause is something blocking or misaligned at a photo eye. Look for an object in the beam area and check the sensor lights against your manual. If that does not fix it, the door may be binding or a sensor may have failed. Do not change the force or travel settings to override a reversal.
What if the symptom happens only once every few days?
Record the date, direction, control used, and what changed around the door. A pattern may show up across weather or power events. Do not try to reproduce intermittent failures on a damaged system. If the door moves unevenly or a protection test fails, stop automatic operation and get service.
Should I send a video to the repair company?
Share a recording you already have if it shows the problem and you can send it privately. A photo from a safe place and a few written notes also help. Do not operate a damaged door for a video or step into its path for a better view.
The problem began right after service. What should I tell the company?
Give the service date, the work on the invoice, and the first difference you noticed. Say where the door is and whether the problem affects movement, controls, or both. If movement changed or damage appeared, ask how to keep it safely out of use while the company reviews the job.
Can a normal-looking sensor light prove the closing path is safe?
No. A light reports a status defined by its model. Keep the whole opening clear and check the actual door before operating. Follow the manual’s protection tests on a working system, and stop automatic use when a test fails.
Is it safe to try the manual release to check whether the door moves?
Not if you suspect a broken spring, a loose cable, or a door that is partway open. The release can allow the door to drop or move suddenly. Leave it to a technician in those cases.
Next step
- Record the door’s position and keep everyone clear if anything looks unsafe.
- Match your symptom to the triage table, and do only the safe checks listed for it.
- Save the model number and your notes for the manual lookup or the technician’s call.