Garage Door Springs and Cables: A Homeowner’s Guide
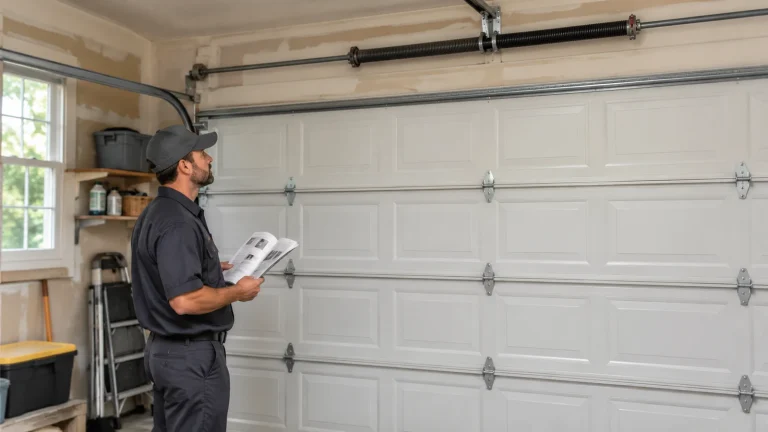
Garage door springs and cables are the system that carries most of the door’s weight. Torsion springs twist around a shaft above the door. Extension springs stretch along the sides. Lift cables carry the spring force to the door, and on many extension systems a separate safety cable helps contain a broken spring. If a spring has a visible break, a cable hangs loose, or the door sits crooked, stop using it, keep the opening clear, and call a trained technician. As of November 2026, professional spring replacement typically costs about $120 to $350 and cable replacement about $100 to $400. This is not a repair to attempt yourself.
What you’ll learn
- Where torsion and extension systems sit and what each part does.
- Which signs mean stop, and what to say when you call.
- How to read a cycle rating, with a worked example.
- What professional replacement includes, with dated cost ranges.
- Why you should never adjust, release, or “just reseat” a spring or cable.
Contents
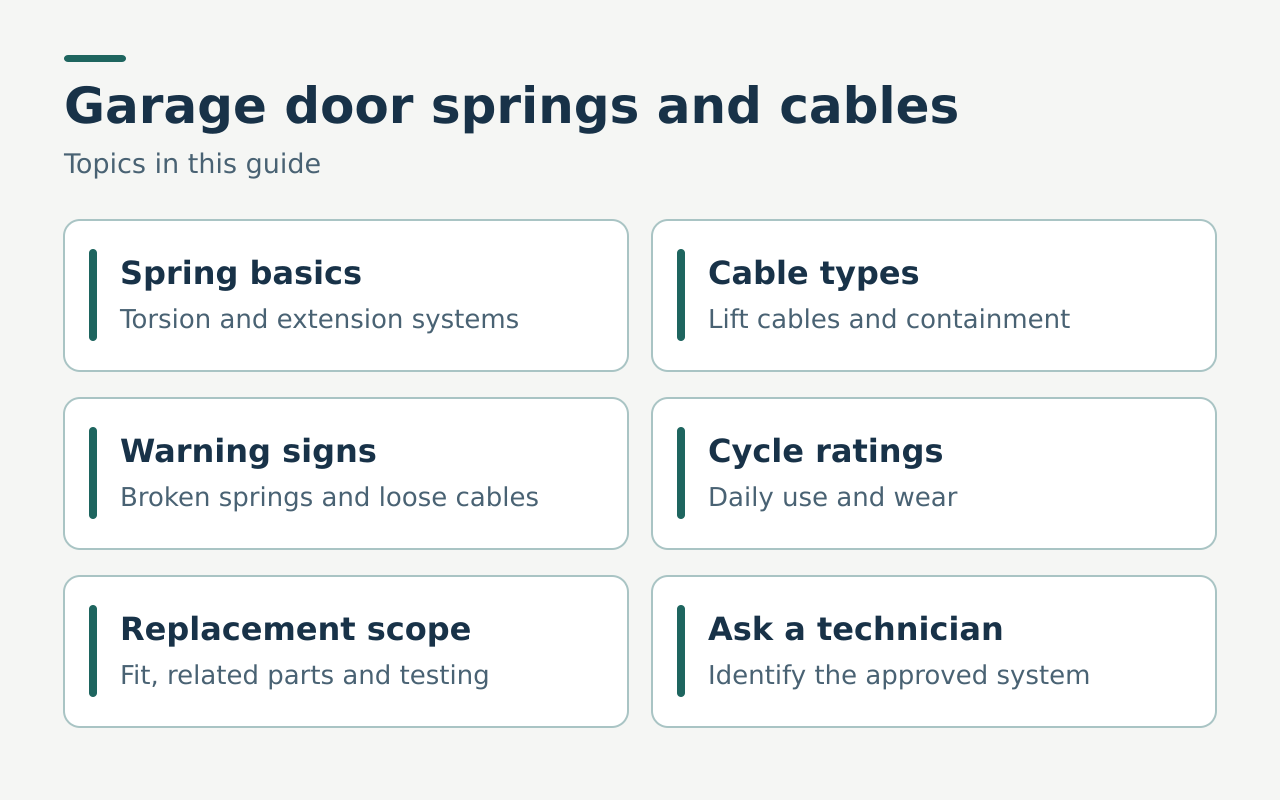
- How garage door springs and cables work together
- Torsion versus extension springs
- How torsion springs transfer lifting force
- What extension springs and safety cables do
- Lift cables, drums, pulleys, and bottom brackets
- How to identify the system without handling it
- How to read a spring cycle rating
- When a high-cycle option makes sense
- Lifespan, corrosion, and use
- Read warning signs from a safe position
- What professional spring replacement includes
- Spring and cable costs at a glance
- Avoid changes that affect door balance
- What to ask when two spring quotes differ
- Four real-life spring and cable scenarios
- Homeowner observations and professional work
- FAQ
- Next step
How garage door springs and cables work together
The counterbalance is the set of spring and cable parts that offsets the door’s weight. A sectional door is made of panels that fold as rollers travel through the side tracks. The tracks guide the route, and the counterbalance supplies lifting help along that route. On an automatic door, the opener adds controlled motion to a door whose mechanical system is already set up correctly.
A closed door can still hold stored spring energy. Torsion springs store energy by twisting. Extension springs store it by stretching. The energy changes as the door moves, and the door’s travel path changes how much lifting help it needs. That is why springs are fitted to a particular door and hardware arrangement, and why a spring that looks like another can behave differently in service.
The steel cables at the lower sides of most sectional doors are part of the load path, meaning the series of parts that carry force from the spring to the door’s lower corner. A cable can still be loaded when the door has stopped. The part that anchors it near the bottom is the bottom bracket, and it can carry force even if something elsewhere has failed.
Balance means the system gives the right lifting help across the intended path. When balance changes, both the door and the opener feel it. A fast descent, a rise that stalls, or uneven travel calls for a professional check. If you suspect a failed spring, share what you saw from a safe place. You do not need to try a lift or a release to justify the call.
Both designs are described in the DASMA counterbalance systems standard (ANSI/DASMA 103-2017). The door’s own installation documents identify the approved arrangement for that door. A generic diagram is enough to learn the names, but service and fit come from the actual assembly and its maker.
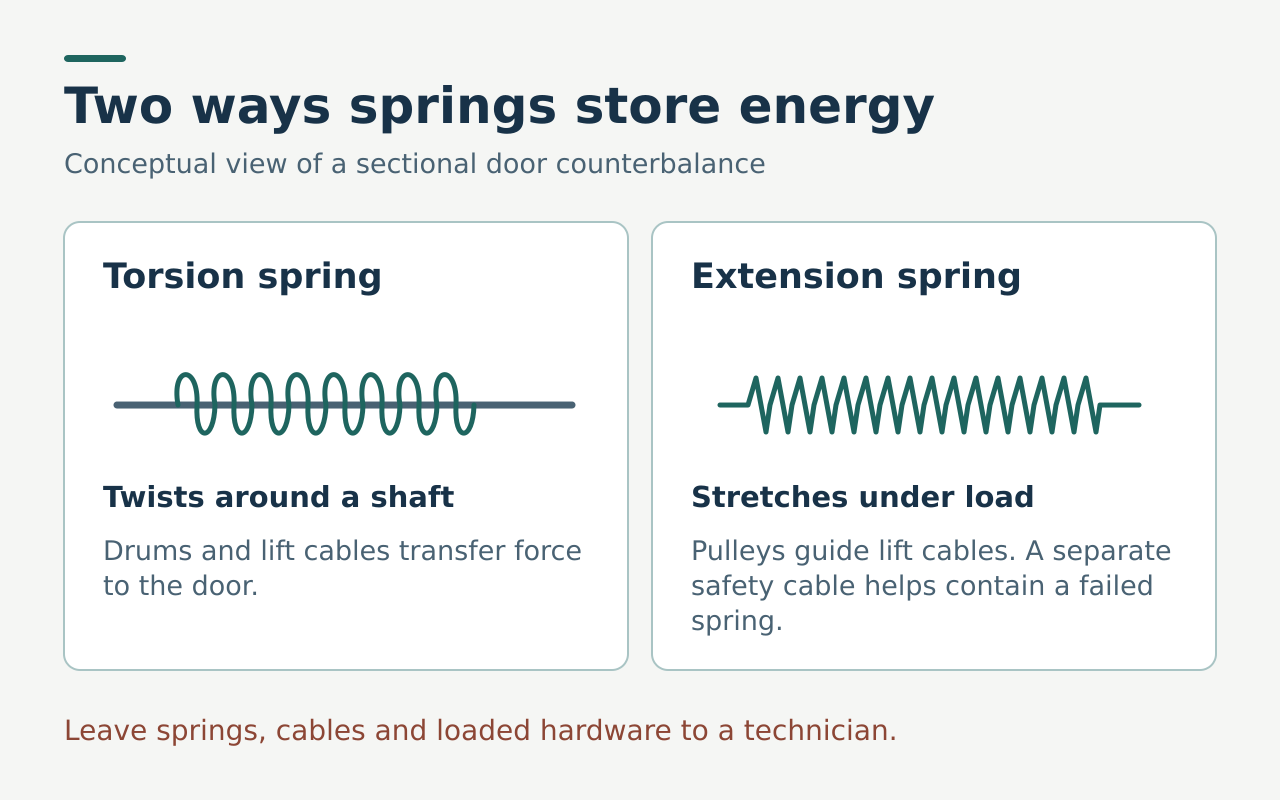
Torsion versus extension springs
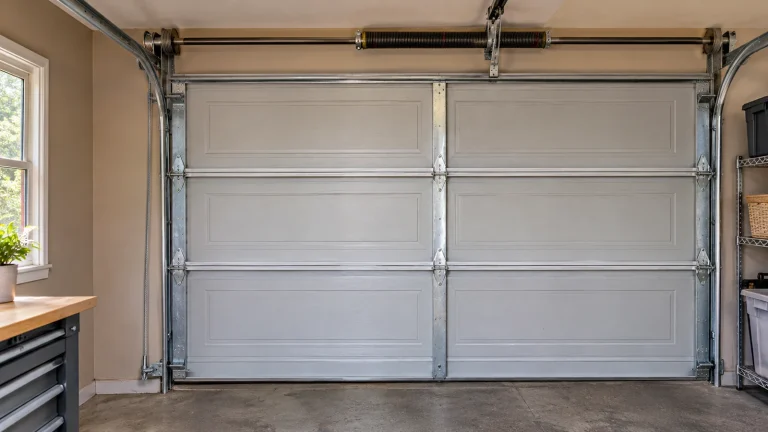
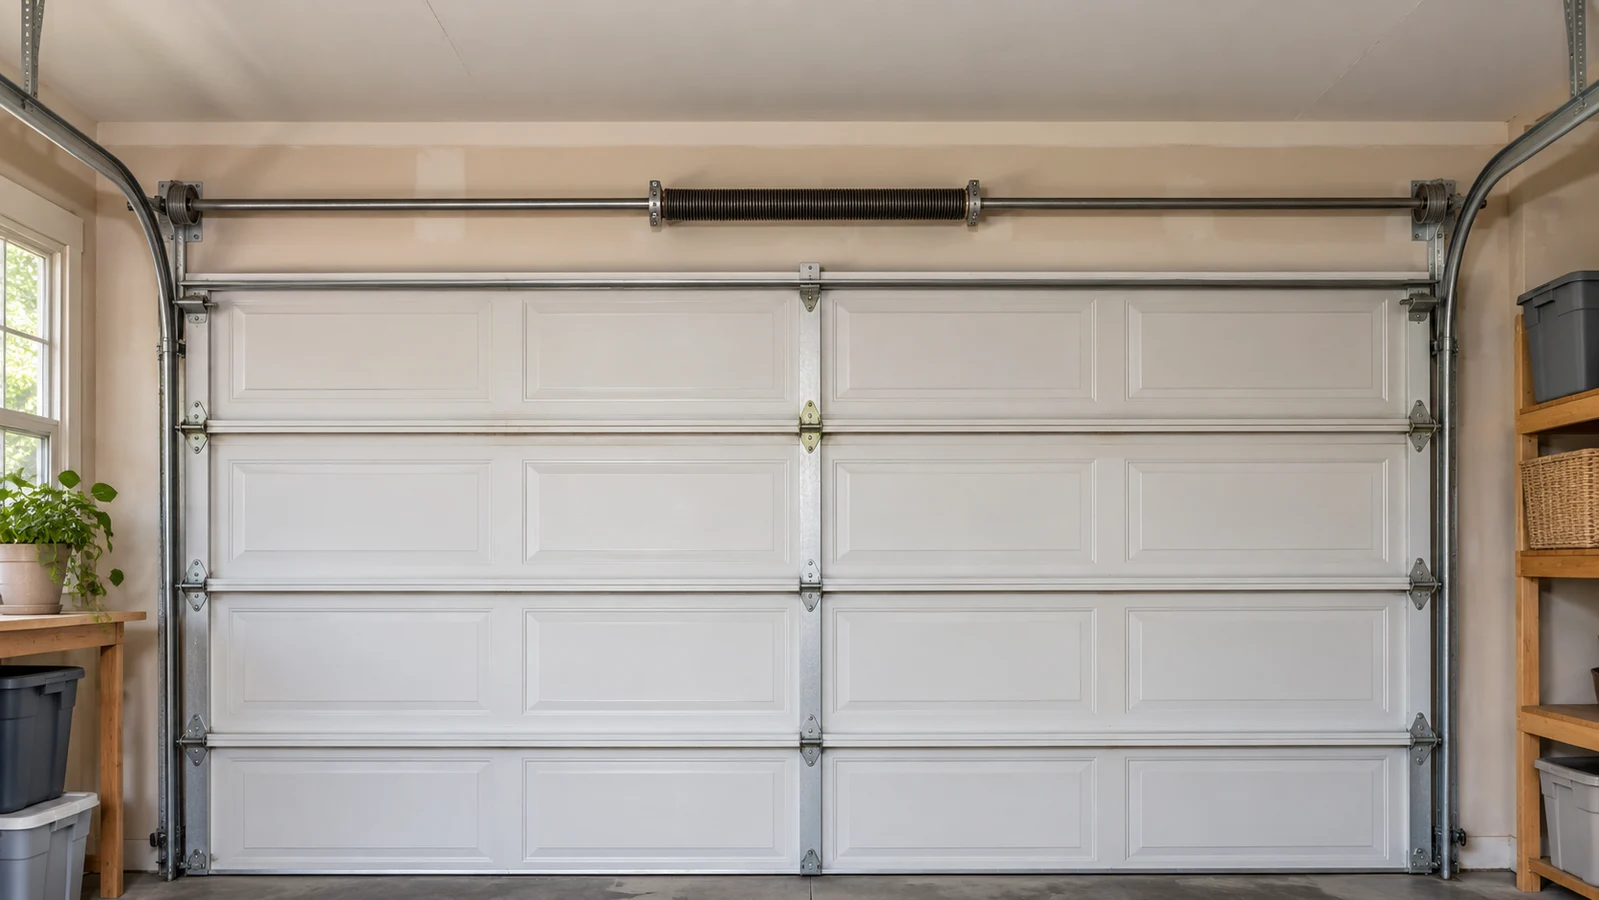
A common torsion setup has one or more springs on a metal shaft across the top of the opening. Cable drums at the sides turn the shaft’s rotation into cable movement. Some designs package the spring inside a tube, so the outside appearance cannot tell you the spring’s specification or whether it is intact.
Extension systems use springs that lengthen and shorten as the door moves. They commonly run beside the overhead tracks, one on each side, and transfer force through cables and pulleys. A pulley is a grooved wheel that guides a cable. Many extension systems also have a containment cable running through each spring.
| Feature | Common torsion layout | Common extension layout |
|---|---|---|
| Where you may see springs | Around a shaft above the door | Alongside the overhead side tracks |
| What the spring does | Twists as the shaft turns | Stretches and contracts |
| How force reaches the door | Shaft, drums, lift cables | Lift cables and pulleys |
| Extra parts to discuss | Shaft supports, drums | Pulleys, safety cables |
| Typical professional replacement (Nov 2026) | $140 to $350 | $120 to $200 |
| What the owner can do | Report clues from a safe distance | Report clues from a safe distance |
Both types are appropriate for a door designed for them. A conversion from one to the other is a bigger job that involves the door, track arrangement, supporting surfaces, and parts as a system. As of November 2026, ConsumerAffairs reports that switching from extension to torsion springs costs about $400 to $800 including labor. Have a technician explain how any proposed design matches the door documentation. The torsion and extension spring comparison explains how each carries the load.
How torsion springs transfer lifting force
A torsion spring applies turning force to the shaft. The drums at or near the shaft’s ends wind and unwind the lift cables as the door moves. The two sides are meant to work together so neither side tries to lift first. A damaged cable, a shifted drum, or a failed spring changes that behavior.
On an exposed torsion spring, a visible gap through the coils can mean the spring has broken. On a system with more than one spring, one may look intact while another is split. An enclosed spring may not be visible at all. Not seeing a split from across the garage does not mean the door can run. Treat visible unevenness and changes in movement as reasons to stop.
A shaft can look level while the door is no longer supported as designed. If you heard a loud bang and the door now opens only a little, tell the technician whether it came down to the floor, stayed suspended, or changed shape. Stop using the opener and do not walk under a suspended door or approach the spring assembly for a closer look.
See how garage door torsion springs work for the relationship between spring, shaft, and drums.
What extension springs and safety cables do
An extension spring gets longer under load. On many overhead sectional doors you will see one near each side. Pulleys and cables transfer the spring’s pull to the door. Older doors and uncommon layouts vary.
A safety or containment cable has a separate job. In many extension systems it runs through the spring and anchors at suitable points so it can help contain pieces if the spring breaks. A lift cable near the door edge does not prove a safety cable is present. If you cannot tell how the system is arranged, ask a trained technician to confirm whether containment is fitted. DASMA’s garage door system safety guidance explains why a missing safety cable is a reason to ask a dealer to inspect the system.
A technician inspecting extension springs looks at more than the coil: attachment points, pulleys, lift cables, and containment cables. If a spring hangs differently on one side, a cable looks worn, or a pulley sits out of place, stop using the door and keep everyone away. Ask for professional inspection even if the opener can still make the door move. The guide to how extension spring systems work covers component names and how containment fits in.
Lift cables, drums, pulleys, and bottom brackets
The lift cable connects the moving parts of the counterbalance to the door. A technician will tell it apart from the wire to a safety sensor or the small cord on an opener release, which sit near the opening but do different jobs.
Torsion systems use drums to guide the cable onto and off the rotating shaft. Extension systems usually guide cables around pulleys. The lower end of a lift cable attaches to a bottom bracket. A changed cable path or bracket position can affect how the whole assembly moves, even when the visible spring still looks continuous.
Fraying wire strands, obvious slack on one side, or a cable hanging outside its normal route can signal a serious problem. Stay clear and stop using the door. Never put a cable back on a drum or pulley, and leave the bottom bracket and its fasteners alone. Moving any of these parts can change the support under the door or release stored energy.
When you call, describe where the loose cable is and where the door sits: “There’s a loose steel strand along the lower right edge of the closed door.” That helps a dispatcher tell it from an opener release. The guide to lift and safety cables shows what the two cable types are and why they are assessed differently.
How to identify the system without handling it
Look from a safe position with the door stationary. Scan across the top of the opening and along the sides in ordinary light. A spring around a shaft above the door suggests torsion. A spring running beside each overhead track suggests extension. An enclosed assembly or unusual layout is a good reason to let the technician identify it.
Use purchase records or the door manual if you have them. The opener’s label identifies the motor, not the door. Look for a separate label or record for the door if it is easy to reach. A manufacturer’s list of approved spring systems helps a technician confirm whether what is installed is original or an approved change.
A wide photo often helps more than a close-up. It shows the top of the opening and the track positions. If a part is out of view, say so. Never move the door or climb around hardware for a better picture, and skip the photo entirely if the door is stuck open or hanging unevenly and taking it would put anyone near the opening. The spring type identification guide lists common visual clues.
How to read a spring cycle rating
One cycle is one complete opening and closing of the door. A cycle rating describes a spring’s rated performance under defined conditions. Ask what the proposed rating applies to and how the supplier defines it for the spring and door. The installed door has other parts that may need service on a different schedule.
To compare options, estimate how often your door makes a full trip. A household that comes and goes several times a day uses more cycles than it expects. Count each opening and closing pair as one cycle.
Here is the arithmetic. If your household averages four cycles a day, the annual total is 4 × 365 = 1,460 cycles. The table below shows what that looks like against two example ratings. The ratings are examples to show the math, not claims about any product. A spring can fail earlier or later than the arithmetic suggests because handling, installation, corrosion, and door weight all play a part.
| Daily cycles | Cycles per year | Years to reach a 10,000-cycle example | Years to reach a 25,000-cycle example |
|---|---|---|---|
| 2 | 730 | about 13.7 | about 34.2 |
| 4 | 1,460 | about 6.8 | about 17.1 |
| 8 | 2,920 | about 3.4 | about 8.6 |
The point is the ratio. A household with eight daily cycles uses a rated number of cycles four times faster than one with two. This is why use pattern matters more than the age of the door. Bob Vila’s guide gives a real-world reference for extension springs: roughly 8,000 to 15,000 cycles, or 7 to 12 years.
DASMA’s technical data sheet TDS-190 discusses the factors that affect spring cycle life. Ask for the spring specification and cycle basis in writing when a company offers an upgrade. State whether the quote covers one spring, a pair, or a different assembly. The garage door spring cycle rating guide explains how to compare ratings without treating them as a guarantee.
When a high-cycle option makes sense
A higher cycle rating is worth asking about when the door moves often or when downtime would disrupt daily access. The useful comparison is between documented, compatible options for your door. Ask what the higher rating applies to, whether the parts fit the available space, and whether anything else has to change. Ask which tests are included before the door returns to service.
Keep the rating and the warranty on separate lines in your notes. Ask who issues the warranty, what work it covers, what it excludes, and whether labor is covered if a spring fails. A rating does not tell you who pays to replace a faulty part.
Think about how central the door is. A main daily entrance has different needs than a detached garage opened occasionally for yard tools. If a higher-rated spring changes the replacement scope, ask which other parts have different service needs and what supports the suggested fit. The high-cycle garage door spring guide covers use patterns and dealer questions.
Lifespan, corrosion, and use
Spring life depends on how the spring was handled, whether it was fitted correctly, how the door is used, and the environment. Corrosion or physical damage can matter even at a low cycle count. A heavily used door can need attention sooner than a lightly used one with the same install date. Published age estimates alone are a poor basis for judging a spring safe. HomeAdvisor’s spring guide, for instance, notes that springs last between seven and 15 years, a wide window.
Tell the technician about changes that your records can document: new panels, added door weight, repeated cable trouble, or different hardware. Exposure to moisture or road salt is another reason to report visible deterioration. If you can see damage from a safe place, keep the door out of use until it is assessed.
Keep records that survive a change of owner: the installation date, the approved door configuration, the counterbalance type, and any parts replaced. Record a change once and hand the description to the technician. For two similar doors, label photos by location, because they may differ in width, windows, or spring arrangement. The spring lifespan and wear guide explains what service history and visible clues can tell you.
Read warning signs from a safe position
A loud sound in the garage may have come from something other than the door. Combine what you heard with what you can see. A visible spring break, a drooping cable, a door sitting at an angle, or a section standing away from its guides means stop. If the door closed unevenly before you noticed the problem, tell the technician without trying it again.
Other faults can mimic a spring problem. A bent track or damaged roller can make a door bind, and a lost opener connection or motor fault can change how the system responds. A technician can inspect door and opener separately. Because a mechanical fault can be serious, base your immediate decision on the visible safety clues and the door’s position.
For a closed door with a known spring failure, use another entrance and leave the controls idle. For a door open or partway open with signs of lost support, keep everyone out of the area and seek urgent service. Call 911 if anyone is trapped or in danger. Tell the responder where the door is, and do not try to lift or support it yourself.
| What you see or remember | What it can mean | What to do |
|---|---|---|
| A clear break across an exposed spring | Spring failure | Stop use and arrange trained service |
| Loose or frayed steel cable at one side | Damaged lift cable or shifted load path | Keep clear and call a pro |
| Door hangs unevenly or a roller is outside its guide | Loss of alignment or support | Keep away from the opening and request urgent help |
| Door seemed to fall or move unusually fast | Counterbalance or support fault | Stop use immediately |
| Opener hums but the door will not lift | Possible spring failure or binding | Stop running the opener and call a pro |
| A bang with no confirmed source | Hardware or something else may have failed | Check from a safe position and call a pro if door damage is suspected |
| Missing or unclear safety cable on an extension layout | Containment needs verification | Arrange a professional inspection |
Avoid naming a single failed part when the evidence is limited. “The right cable is loose and the door is halfway up” lets the technician prioritize even if a spring turns out to have failed first. If you have more than one door, say which one is affected and which access route is safe.
What professional spring replacement includes
Before quoting parts, a technician assesses the door’s condition and the counterbalance it needs. The door type, sections, hardware, and travel arrangement all matter. If the spring broke after a recent change, such as new insulation or a replaced section, say so. An estimate built on the actual assembly is more reliable than one that assumes every door of the same width uses the same spring.
Ask what will be replaced and what will be inspected. A torsion system may call for checking drums, cables, shaft supports, and bottom brackets. An extension layout may call for checking pulleys and safety cables as well as springs and lift cables. Worn parts nearby can justify a wider scope when the technician explains the finding.
If the door has two springs of similar age and use, ask the technician to discuss replacing both. Modernize notes that when one spring is worn, replacing both can prevent the other from failing soon after, which might mean another service call. Ask what the proposed parts are rated to do together and whether the existing door has been verified for them.
After the work, expect the technician to check balance, alignment, and full travel, then confirm the opener’s protections if one is connected. Ask for the list of installed parts, the warranty terms, and any care the manufacturer recommends. Ask them to describe how the finished system was verified. The professional garage door spring replacement guide lists the questions to bring.
Spring and cable costs at a glance
These approximate U.S. ranges apply as of November 2026. They come from published national cost guides, combine parts and labor unless noted, and are not quotes.
| Job | Typical installed range | Notes |
|---|---|---|
| Torsion spring replacement | $140 to $350 | HomeGuide; torsion costs more than extension |
| Extension spring replacement | $120 to $200 | HomeGuide |
| Spring replacement, general range | $120 to $350 | This Old House, 2026; HomeAdvisor cites an average near $250 |
| Cable replacement | $100 to $400 | Fixr lists an average near $225; Modernize cites $85 to $200 |
| Spring and cable together | $200 to $500 | Often done in one visit |
| Convert extension to torsion | $400 to $800 | ConsumerAffairs |
| Spring part alone (torsion) | $30 to $100 | HomeGuide; parts are the small part of the bill |
| After-hours or weekend surcharge | $50 to $150 | Varies by company |
For the parts-only line: HomeGuide lists springs alone at $30 to $100 for torsion and $20 to $50 for extension. That gap is why do-it-yourself savings look appealing on paper. They are not worth the risk. The labor, tooling, and training in a professional quote are the point.
What pushes a spring quote up: a pair instead of one, a heavy or insulated door, a higher cycle rating, a shaft, drum, or cable that also needs replacing, and an urgent visit outside regular hours. What can bring it down: scheduling a regular-hours visit and fixing several parts in a single appointment.
Compare quotes for the same door and the same final condition. If one installer includes worn cables, ask for the finding and the part. If another proposes a different spring assembly, ask how it is approved for your door and what changes at handover. Get warranty answers on paper. The garage door spring replacement cost guide and the garage door costs guide explain how to build comparable scopes.
Avoid changes that affect door balance
The door is designed as an assembly. Added panels, accessories, changes to reinforcement, or a replacement section with different construction can change the weight the counterbalance must carry. Ask the door maker or a trained technician before adding weight, and tell the installer about any changes you know of.
Buying parts by color, coil appearance, or an online photo gives an incomplete match. The right choice depends on how the parts work together as a system. A service company should identify the door and its approved configuration before installing new counterbalance hardware.
If you plan to add insulation or windows, ask whether the door maker offers a compatible configuration and what must be inspected. Describe the finished assembly before work begins. This keeps a new component from being treated as a cosmetic change when it alters the load. DASMA’s technical sheet TDS-176, “Adding Weight to a Garage Door Assembly”, explains how door weight, spring support, and opener operation relate.
What to ask when two spring quotes differ
First, ask whether both companies identified the same door and checked the same surrounding parts. One quote might cover the failed spring and testing while another includes two springs, cables, and a second visit. Mark what each technician observed and what is only proposed pending a closer look. Ask for one written scope that separates known work from work needing further approval.
Second, ask about the parts. Get a part description or identifier, what fit it supports, and whether a cycle rating applies to the proposed configuration. If a company offers several options, ask what condition the door is left in under each. “Restored to normal use and tested” is a different outcome from “secured closed pending parts.”
Third, if the technician finds a frayed cable, ask what cable type it is and what else in the load path may need attention. Extension systems may call for a conversation about containment, and torsion systems about a shifted or damaged drum. Ask for a photo or diagram of the finding when practical.
Finally, ask when the work can happen, who will do it, what a return trip for a special part would cost, and which warranty covers it. Verify insurance and any license your area requires, and ask what experience the technician has with the arrangement on your door.
Four real-life spring and cable scenarios
These are illustrations built from typical situations and the ranges above, not quotes from real companies.
Scenario 1: A bang in the morning, door closed, opener hums. A homeowner hears a loud sound, presses the wall button, and the opener hums but the door barely moves. A visible gap shows in the spring above the door. This is the classic torsion spring failure. The right move is to stop pressing the button and book a technician. As of November 2026, a torsion replacement runs about $140 to $350. If it happens on a Saturday and the car is inside, a weekend surcharge of $50 to $150 may apply, so the total is roughly $190 to $500. If the door is closed and nothing is blocked, ask whether a regular-hours visit is possible.
Scenario 2: One side of the door is hanging low. After a spring breaks, a lift cable has slipped off its drum and one side of the door sits crooked. The door may be unsupported. Keep everyone clear and call for urgent service. This is a spring-and-cable job, commonly in the $200 to $500 range as of November 2026, and the technician should inspect both sides. Do not try to put the cable back.
Scenario 3: An older extension door, one spring snaps. One extension spring breaks and a cable whips against the door. The household had no idea whether a safety cable was fitted. The technician finds the other spring looks similar in age and wear. The extension replacement runs about $120 to $200 for a pair. The technician explains that replacing both is the better choice because the second has seen the same cycles, and adds a safety cable where the system allows it. The homeowner asks whether converting to torsion would be worth it. At $400 to $800 for the conversion, the answer depends on how long they plan to keep the door and how often it is used.
Scenario 4: Two quotes, two different spring offers. A busy household with eight cycles a day gets two quotes. One offers a standard-rated pair at a lower price. The other offers a higher-cycle pair for more. Using the arithmetic above, 8 cycles a day is 2,920 per year. Against a 10,000-cycle example rating, that is about 3.4 years. Against a 25,000-cycle example, about 8.6 years. The household asks each company what rating the quote assumes, who warrants the spring, and whether labor is covered if it fails early. The higher price buys more years only if the rating and warranty are real, so they get both in writing before choosing.
Homeowner observations and professional work
When to call a pro. Stop using the door when a spring looks broken, a cable is slack or frayed, a bottom corner shifts, or movement becomes uneven. Keep clear, leave the opener release and loaded hardware alone, and call a trained garage door technician. Check any licensing rules that apply locally.
What you can do: share existing records, take a photo from a safe location when practical, and describe the sound or movement you observed. On a healthy system, follow the door maker’s instructions for ordinary owner care. When you suspect a counterbalance problem, let a professional assess it before you operate the door or run any mechanical check.
If the opener seemed to hold an open door after a fault, do not assume that position is safe. Let the technician decide how to approach it. Keep everyone from using remotes, keypads, apps, and wall controls while you wait. An app status can be shared as a clue, but report the actual position you can see from where you are.
What you must not do: adjust, tighten, loosen, or release a spring; put a cable back on a drum or pulley; remove or loosen a bottom bracket; or “test” a door you think has lost support. These jobs involve stored energy that can cause serious injury. A professional spring replacement is the right place to spend money. Never bypass a safety sensor or disable auto-reverse as a workaround.
After repairs, watch the handover from a safe place. Ask the technician to describe how they verified balanced movement and the operation of the protections. Keep the repair record with the door documentation, including part identifiers, so you can share them with the next technician if a related problem comes back.
FAQ
How much does it cost to replace a garage door spring?
As of November 2026, published national guides put professional spring replacement at about $120 to $350, with torsion springs typically costing more than extension springs. HomeAdvisor cites an average near $250. A pair, a heavy door, a higher cycle rating, or an after-hours visit pushes the price up.
Should I replace both springs when only one breaks?
In most cases, yes. Both springs have worked through the same number of cycles, so the second is likely close to failing. Replacing both costs somewhat more now and often saves a second call. Ask the technician to explain the recommendation for your system.
Can I replace a garage door spring myself to save money?
No. Springs and cables hold stored energy, and mistakes can cause serious injury. The spring part alone may cost $30 to $100, but the professional price includes the tooling, training, testing, and warranty. Hire a trained technician.
What if I hear a loud sound but cannot see a broken spring?
Stay clear and look for visible signs from a safe place, such as a slanted door or a loose cable. Some springs are enclosed or hidden. If you suspect a fault, stop operating the door and describe what you heard, what the door was doing, and which side the sound seemed to come from.
Can a safety cable keep the door working after a spring breaks?
No. A safety cable on an extension spring helps contain the broken spring, but the door still loses its lifting help. Keep the system out of service and arrange an inspection of the lift cables, containment features, and related hardware before using it again.
Does a door with one torsion spring need an upgrade to two?
That depends on the door design and its approved counterbalance. Ask a technician to identify your approved setup and explain any proposed change using the door documentation. A two-spring proposal must account for fit, force across the door’s travel, hardware compatibility, and the rest of the system.
What if the old spring and cable records are missing?
Gather the door model, photos from a safe vantage point if practical, and any purchase or service records. Tell the technician what is missing. A professional can assess the installed system and determine the right specifications. Ask for the identification in writing with the new service paperwork.
Next step
- If the door shows a spring or cable fault, stop using it and keep people away from the opening.
- Record the door’s position and visible clues from a safe place, and share them when you arrange service.
- Ask for a written scope that lists the springs and cables, related hardware checks, final testing, and the warranty.